Here is a picture of her new socks. (or "shaaaa!" in Ava-ese)
 I put cardboard inside the socks so the paint didn't leak through to the other side. It was pretty super easy. And Ava stays on her feet (a little bit) more. :0)
I put cardboard inside the socks so the paint didn't leak through to the other side. It was pretty super easy. And Ava stays on her feet (a little bit) more. :0)
I put cardboard inside the socks so the paint didn't leak through to the other side. It was pretty super easy. And Ava stays on her feet (a little bit) more. :0)
I bought two of these slipcovered ottomans from Ikea. As you can see, with one wash they started to look a little like they were wearing "highwater" pants.
As I had been seeing a lot ruffles and pleats out in blogland, I was inspired to make those ottomans a little more ladylike (and cover up those legs!) Basically, I cut 4 1/2 inch strips of fabric, ironed them a 1/2 inch on either side, pinned them to the original slipcovers and sewed them around. On the first one I pleated it, ironed it and put some basting stiches in. On the second one I ended up just pleating it as I went a long and that was a LOT easier. I ironed it afterward. I read a tutorial or two, but I ended up eyeballing the pleats. Its a nice little Ikea upgrade! I like 'em!

Linking up to:

 But, needing to make things complicated, and having seen this post on Centsational Girl, I decided to experiment with paintable wallpaper. You know, I had a 9 month old child, what else did I have to do? I found it on sale at Menards for about $10. We don't have a bathtub, so I used storage tubs to soak the wallpaper.
 Fold it, glue-y sides together.


 So I found something that looked like an emory board and filed away.
 Looking better!


 Now if I were a good blogger, I'd have written something clever on the chalkboard. MAN! But, I'm pretty excited about how it turned out, even though it took...mmmm 6 months. Thanks for hanging in there to the end!
 I gave the mildew a scrub down with bleach, fresh primer and paint, new baskets/tags, hooks, a corner seat, and accessories!!!
 I seriously hardly ever get to accessorize. No room for it. Here are some fall leaves from our yard:
 Pine cones, berries and a fern from our yard:

 Flat as pancakes. Not very inviting. Just sad, sad pillows. I mean, in the swing of things not a big deal, but I just wanted fluffier pillows! So I took the cases off:
 One was from Ikea, one was from Kohl's. Circa...2005. Maybe pillows just get flat over time. I tried fluffing them by hand, but I decided to bulk them up with some extra batting I had after taking apart a quilt.
 Silly? Yes, but I like it!
 It has been sitting in our garage half-done for 16 months.
 (check out the saw horses I got for Mr. Wonderful. $5 at a rummage sale. They saved my back some aches and pains)


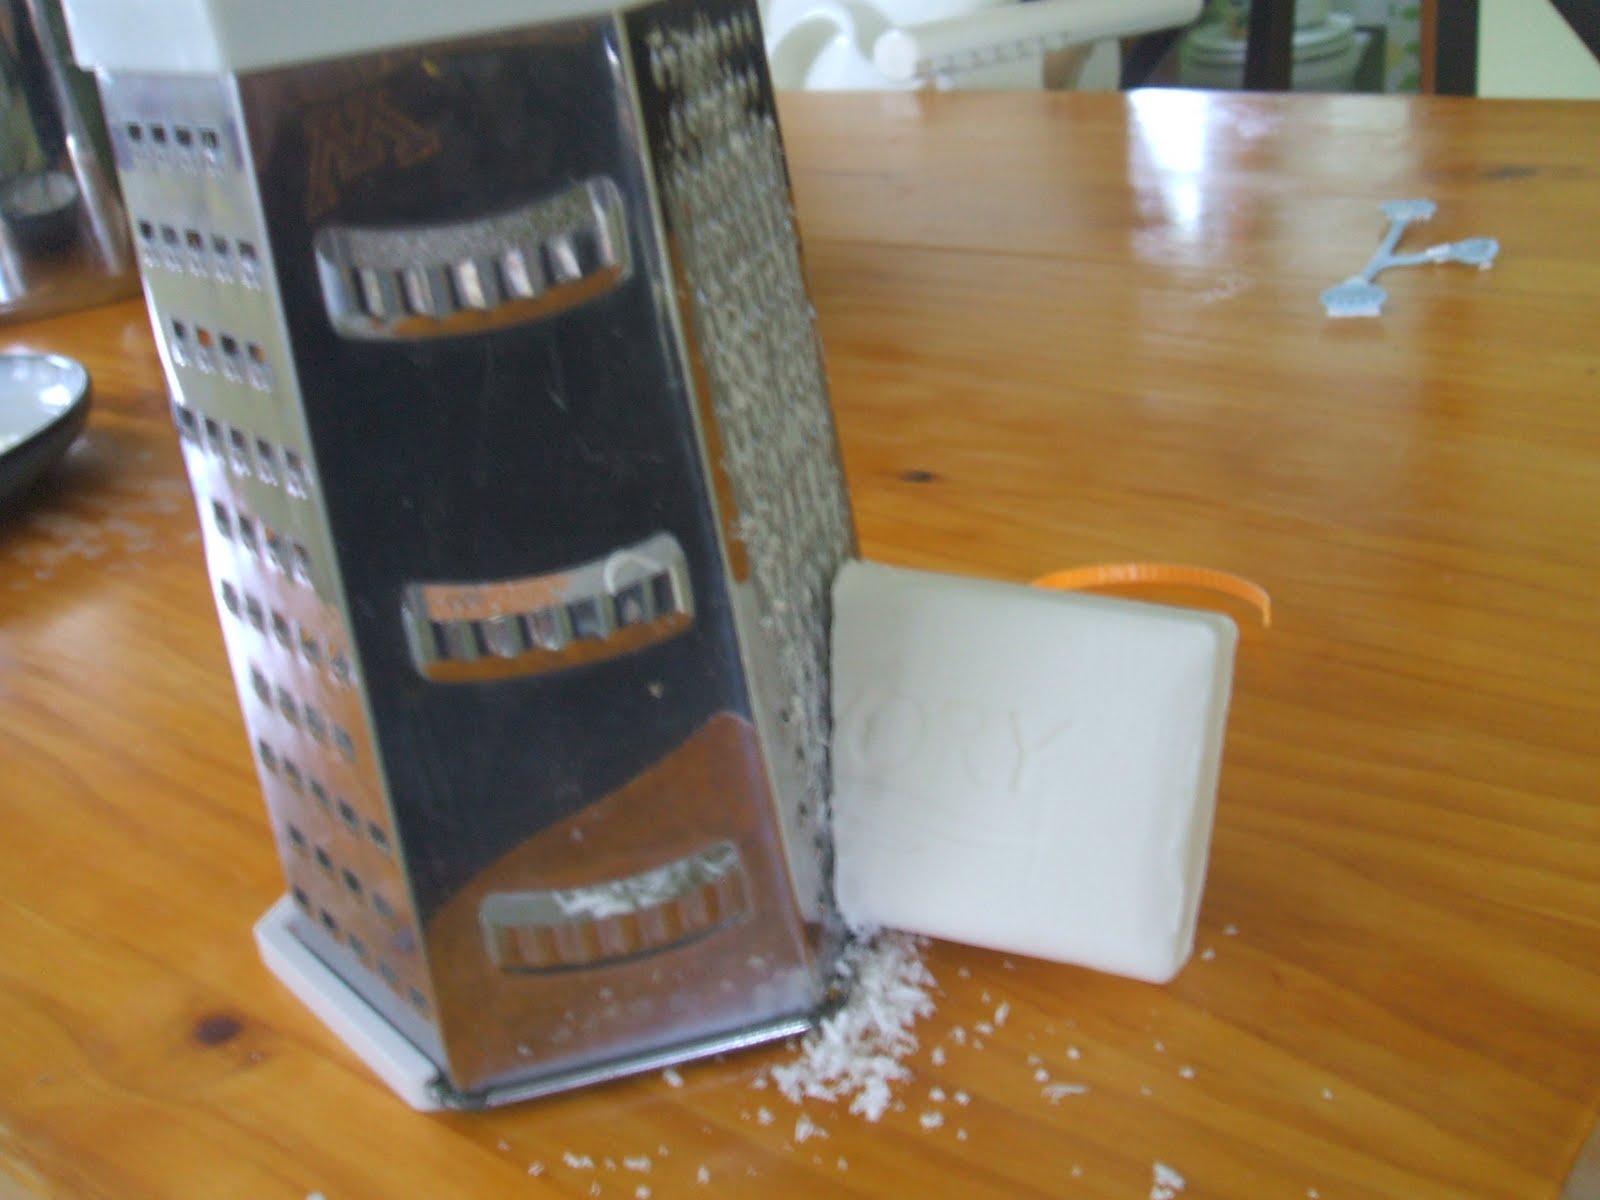 Put about four cups of water in a kettle. I was feeling really hard core and used a stock pot. Turns out that is totally unnecessary. You can just use a regular pot. Little by little put the soap flakes in and stir until it gets nice and soapy.
 Put 3 gallons of water in a container. In case you were wondering, a gallon is 16 cups. I used my 4 cup measuring cup, so 12 of these puppies: (right? I hope so. Math is hard, let's go shopping.)
 Add your soap soup from the pot to the water in the bucket. Then you add a cup of washing soda. (Yes, that's right, Walmart employee who tried to sell me baking soda instead. I want Washing soda.) Turns out washing soda is hard to find. But a friend of mine tipped me off that they carry it at a local grocery store (County Market, but I've also heard they carry it at IGA). You can also order it at Ace Hardware and they'll ship it to the store for free.

 I read on the tutorial that you can often get buckets like this at delis, so I tried at a grocery store. And they gave me one! AND the lady saw Ava and asked if she could have a c-o-o-k-i-e. I said she could and they gave us a free cookie too! It was quite a haul at the grocery store today.
  Here is the entryway as it looks today (you'll see that I didn't clean up before taking any of these pictures.) I have a few more ideas to add to this space.
 I took a trip in July. Look what Mr. Wonderful was up to while I was away! He designed this shoe rack with CAD (a computer program) last winter and started it while I was gone. It fits perfectly in our entryway.
 So, funny story. I took some maternity leave before Ava was born, and got really nesty. As in, I cleaned the stove top with a tooth pick and a q-tip. No joke--and what a difference! Anyway, I thought it would be a good time to tackle refinishing our coffee table. This huge monstrosity:
 Once it was out in the garage, I realized that all the chemicals involved were probably NOT a good thing to expose to my pregnant self! So guess what. It went on the honey-do list (isn't that totally jerky?). And then Ava was born and we had no time for it and it's been sitting in our garage. Well the time has come, my friends. It's not sitting in there for another winter! So I'm doing a little at a time during naps.
 For Christmas I asked for these FABULOUS house numbers. They can be found at Home Depot, but interestingly not at their website. It's like a wonderful insiders secret!
 Also I changed out the flowers in my wreath to match the ones in the coffeepot on the front steps. Less cluttery that way, I think.
 Woot! The sewing bug has bit again. And the venom is sweet.
 I added some pleats to the front ala Gussy. Gussy makes me want to pleat and ruffle everything in sight.
 Can I tell you that I was like a woman possessed during this project? I finished it in a day, using one whole 2 hour nap and probably another hour during the evening. I couldn't stop myself! I am so excited about how much better I'm getting at sewing! Next I want to try tackling patterns. Patterns are very intimidating to me. With their fragile nature and their tracing chalk. They are kind of like bobbins to me. Although I think I am slowly conquering the bobbin!
