We have about 2.5 weeks until the big move. I think. Because we don't have anywhere to live yet! (mild freak out). We are planning to rent for a year so we can get settled, figure out if this is what we want, find a great house, and save up for a down payment. And sell our current house. I think God has definitely used this house to prepare me for apartment living. Actually almost all the apartments I've seen has higher square footage than our house, has a dishwasher *swoon* and a bathtub. Did I mention that my 3 year old still takes baths in an infant bathtub? Good thing she is in the 3rd percentile, no? And since having Claire, my desire to be crafty and diy-y has really diminished. I have time for that later, but right now I have 2 precious little girls to concentrate on. I am not crafty by nature, so it takes a lot of effort and time and I'd rather spend it on them. And not having to do maintenance on an old house for a year? Sign me up (and by that I mean sign US up. Mr. Wonderful is not crazy about home maintenance.) Especially after all the projects we're doing getting our house on the market. Not to mention all the money we've spent.
But we're making good progress. Our realtor comes today to list it as well as the carpet installer. Roofing this weekend. My sweet friend is watching the girls today so I can work. We have so much support.
It all kinda hit me a couple of days after Mr. Wonderful got the job offer. We were actually at my parent's house for a family wedding. My parents are kind of in the same boat right now, except they sold their house already and are closing on the 31st. I had to say goodbye to their house for the last time when we left--so many changes all at once. An uncertain future. But I'm so thankful I have a God who holds it!
Anywhooo, Ava is up. It's showtime!
Thursday, August 2, 2012


Monday, July 30, 2012
I'm back! Or am I?
Hi,
Well the 'ol blog has been pretty much shut down for a long while. I got a comment that my layout wasn't doing so hot. I changed it, but I noticed it still has some issues. I'm not much for html. What the heck is a widget? How do they expect anyone to use these things!
Anywhoo, I'm back to try and update it a bit. A few things have happened since I last wrote. a) we had a baby girl! Named her Claire. She is now 9 months old. Eeeep! b) We're moving! To Bloomington, MN. I repeat, I will be living in a town with an IKEA, people.
Is this the beginning of a new era in Laughing at the Days? I have no idea. This is probably a terrible time to try and start it again, as we are packing and moving in 3 weeks. Buuuut, who knows. Anyway.
Well the 'ol blog has been pretty much shut down for a long while. I got a comment that my layout wasn't doing so hot. I changed it, but I noticed it still has some issues. I'm not much for html. What the heck is a widget? How do they expect anyone to use these things!
Anywhoo, I'm back to try and update it a bit. A few things have happened since I last wrote. a) we had a baby girl! Named her Claire. She is now 9 months old. Eeeep! b) We're moving! To Bloomington, MN. I repeat, I will be living in a town with an IKEA, people.
Is this the beginning of a new era in Laughing at the Days? I have no idea. This is probably a terrible time to try and start it again, as we are packing and moving in 3 weeks. Buuuut, who knows. Anyway.
Monday, September 5, 2011
Disaster Averted
I mentioned in my last post that we've had a lot of project fails around here lately, but here's one we were able to turn around. We brought some low bookshelves from Grandma's house that I thought we could turn into toy shelves for Ava. That way, I figured, I could put her toys in her room and get them out of the living room. Bonus! I knew the shelves weren't wood, but they certainly looked paintable. They were painted black, and I wanted to paint them white on the outside and green on the inside. First we tried to paint them without sanding them first. Not successful. The paint just beaded up. So Mr. Wonderful sanded them down lightly. This is what we got:  You can see that some random areas just would not take paint.

We tried sanding again, but didn't get much farther. I was about ready to throw the towel in, when Mr. Wonderful said "what about covering it with some kind of fabric?" (where does he come up with this stuff?) and I thought to myself "Duh! Mod Podge!" So, I picked out some fabric (I would have probably preferred to use just one kind of fabric, but I didn't have enough of any one fabric that I liked and I wanted to do this as cheaply as possible.) I just brushed the Mod Podge on the shelves first, then on the back of the fabric and stuck it up there. Then I Mod Podged over the top of the fabric.

I ended up buying some twill trim from Joanne's (maybe $6?) to make it look more finished. In the end, we don't see too much of the fabric anyway. I like how they turned out and I love freeing up the space in our 10x10 living room!

Thanks to Mr. Wonderful for saving the day!

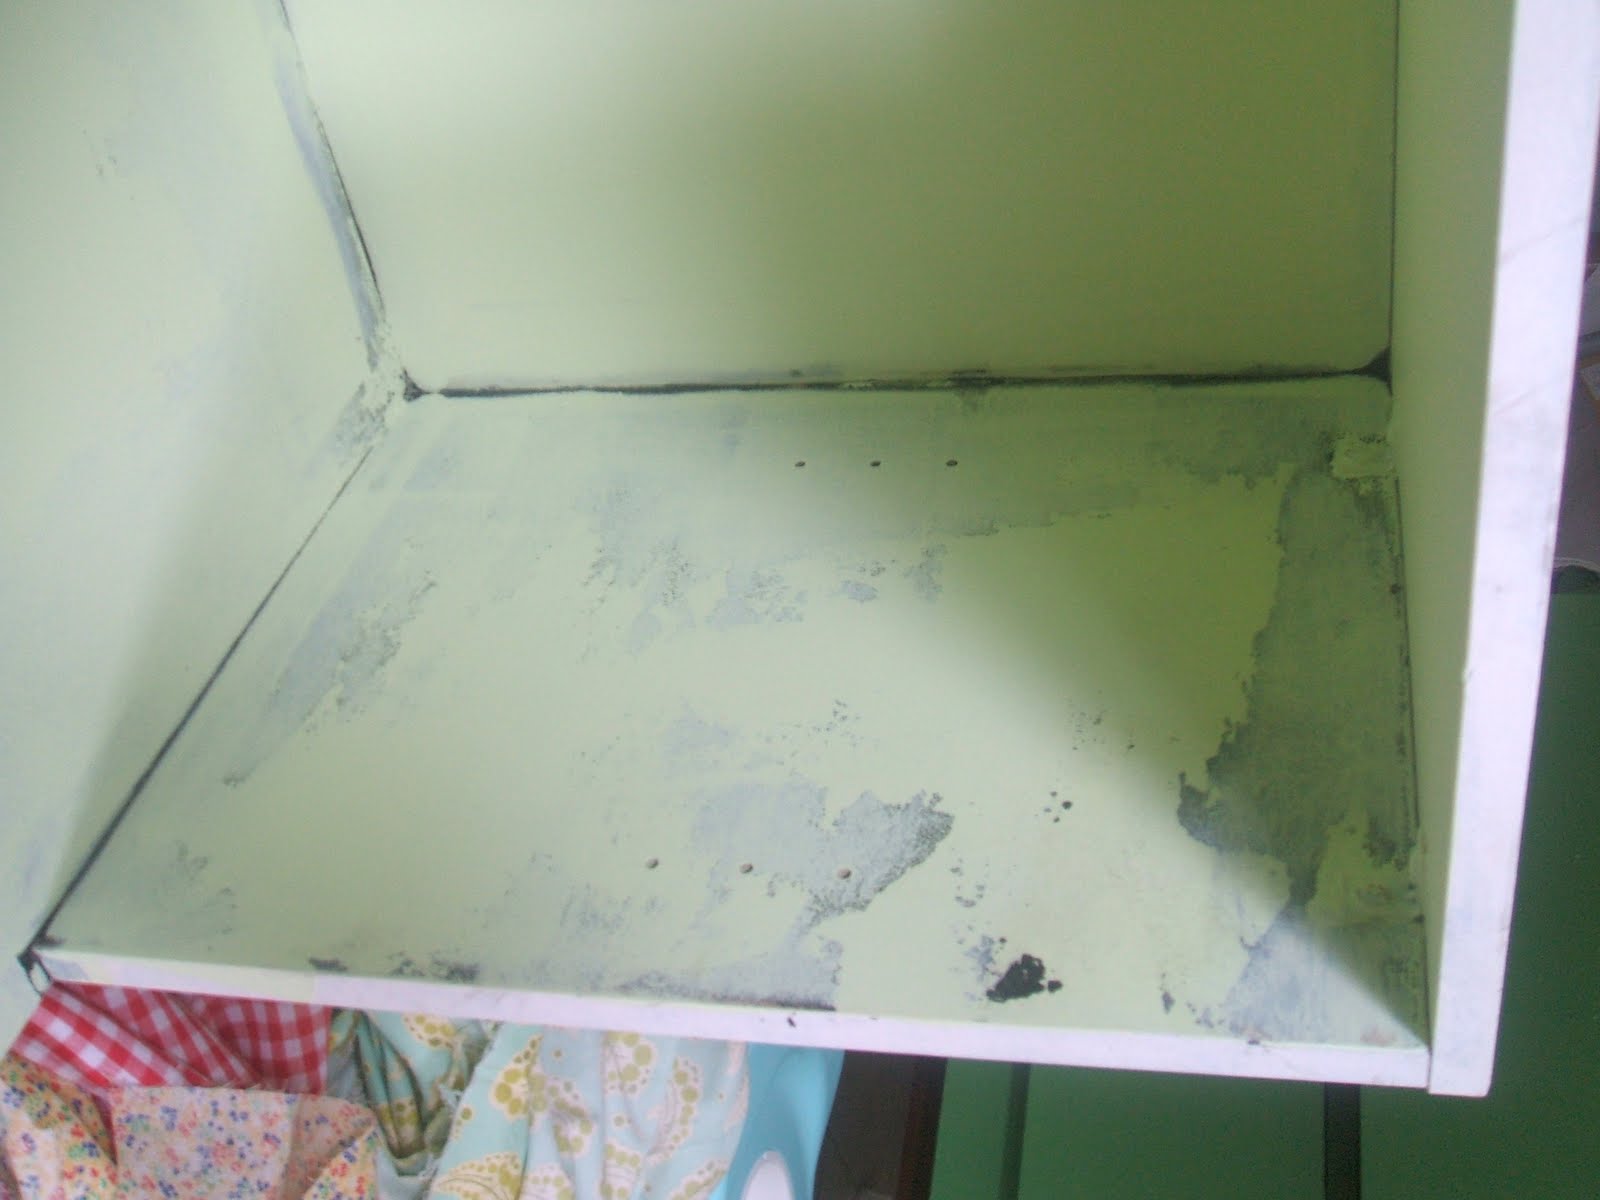 You can see that some random areas just would not take paint.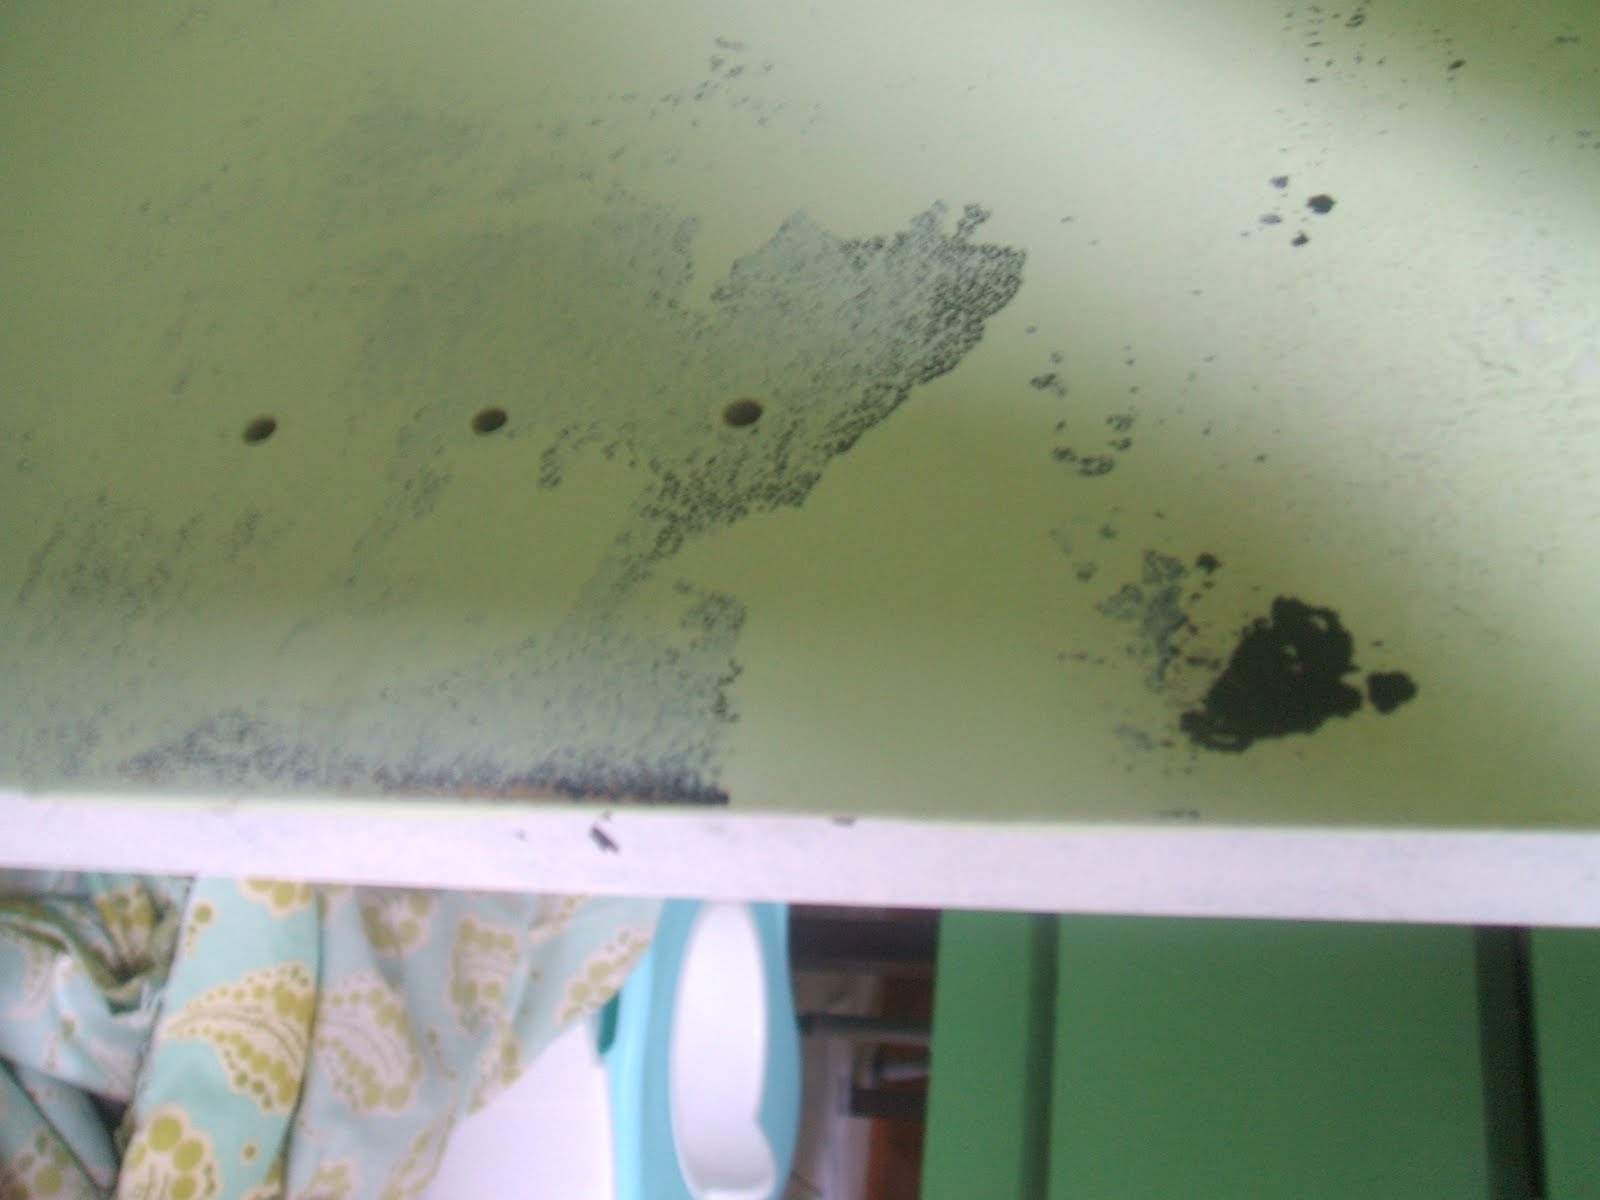
We tried sanding again, but didn't get much farther. I was about ready to throw the towel in, when Mr. Wonderful said "what about covering it with some kind of fabric?" (where does he come up with this stuff?) and I thought to myself "Duh! Mod Podge!" So, I picked out some fabric (I would have probably preferred to use just one kind of fabric, but I didn't have enough of any one fabric that I liked and I wanted to do this as cheaply as possible.) I just brushed the Mod Podge on the shelves first, then on the back of the fabric and stuck it up there. Then I Mod Podged over the top of the fabric.

I ended up buying some twill trim from Joanne's (maybe $6?) to make it look more finished. In the end, we don't see too much of the fabric anyway. I like how they turned out and I love freeing up the space in our 10x10 living room!

Thanks to Mr. Wonderful for saving the day!

Thursday, August 25, 2011
The Dresser That Got Away
Hey, I'm back! I didn't mean to be away for so long, but I JUST found the little connector cord thingy for the computer. It was in a toy basket. The camera case was in the car, and the camera itself was in a random drawer in the living room. If you have a toddler, this will make perfect logical sense to you.
Things have been busy here at our abode. Since I last wrote we decided to look at houses. We looked at a bunch, figured out what we wanted, found a really nice one in our price range, got a loan approved at the bank, took one look at our budget and decided to wait 6 mo. or so to buy. We know it would be much better to wait, and darn that Dave Ramsey, he's been a good influence on us. SO, plans are moving forward to squeeze another baby into our 800 sq foot home. And we couldn't be happier about the decision--we truly love it here.
So anyway, I'll start back in with a major fail. Background on this is that Mr. Wonderful's wonderful grandmother passed away in June. We miss her already and have been remembering her in our hearts often. Since much of Mr. Wonderful's family does not live nearby, we had the opportunity to take some of her furniture home with us. I have always loved this little dresser: His family thought I was crazy, but I could see how easy it would be to put a shelf on the bottom and put a few baskets down there. Adorable hardware, chippy paint, and a slab of marble for the top (which held the memory of one of the last stories grandma ever told us. She was quite the story teller :0)
So, Mr. Wonderful single-handedly loaded that dresser up in the trailer we brought up and placed it in the nursery for me. I had planned on using it as the changing table. Maybe repainting it someday, but for now I loved that chippy paint. Wait....did I say chippy paint?....about an antique dresser....in the nursery? Red flags went up all over in my brain. Flags that said "lead hazard" on them.

So, I tried doing some online research. I didn't find anything terribly conclusive, and that home based tests can be unreliable. So I emailed the lady who knows more about paint than anyone in the Blogosphere. Miss Mustard Seed. She was really sweet and emailed me back, letting me know that there isn't really a product for furniture that can "seal in" the paint like you might find for walls. And that painting over it wouldn't work for long if there was already chipping paint on the furniture. She advised me to move it out of the house with young kids around. Sad face, but I really appreciated the advice.
I took one last shot at home based lead tests and found one that seemed to be the most reliable.
 I just bent the test, squeezed it until some liquid came out and rubbed it on the paint. If the test turned pink within 2 hours, there was lead present.
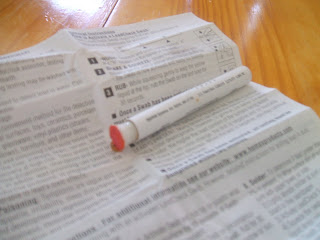 That man. He endures so much for me. :0)
Things have been busy here at our abode. Since I last wrote we decided to look at houses. We looked at a bunch, figured out what we wanted, found a really nice one in our price range, got a loan approved at the bank, took one look at our budget and decided to wait 6 mo. or so to buy. We know it would be much better to wait, and darn that Dave Ramsey, he's been a good influence on us. SO, plans are moving forward to squeeze another baby into our 800 sq foot home. And we couldn't be happier about the decision--we truly love it here.
So anyway, I'll start back in with a major fail. Background on this is that Mr. Wonderful's wonderful grandmother passed away in June. We miss her already and have been remembering her in our hearts often. Since much of Mr. Wonderful's family does not live nearby, we had the opportunity to take some of her furniture home with us. I have always loved this little dresser:
 His family thought I was crazy, but I could see how easy it would be to put a shelf on the bottom and put a few baskets down there. Adorable hardware, chippy paint, and a slab of marble for the top (which held the memory of one of the last stories grandma ever told us. She was quite the story teller :0)
So, Mr. Wonderful single-handedly loaded that dresser up in the trailer we brought up and placed it in the nursery for me. I had planned on using it as the changing table. Maybe repainting it someday, but for now I loved that chippy paint. Wait....did I say chippy paint?....about an antique dresser....in the nursery? Red flags went up all over in my brain. Flags that said "lead hazard" on them.

So, I tried doing some online research. I didn't find anything terribly conclusive, and that home based tests can be unreliable. So I emailed the lady who knows more about paint than anyone in the Blogosphere. Miss Mustard Seed. She was really sweet and emailed me back, letting me know that there isn't really a product for furniture that can "seal in" the paint like you might find for walls. And that painting over it wouldn't work for long if there was already chipping paint on the furniture. She advised me to move it out of the house with young kids around. Sad face, but I really appreciated the advice.
I took one last shot at home based lead tests and found one that seemed to be the most reliable.
 I just bent the test, squeezed it until some liquid came out and rubbed it on the paint. If the test turned pink within 2 hours, there was lead present.
 Well the test turned RED almost instantly. Soooooo I sweetly said "Mr. Wonderful? Do you think you could use your muscles and take this dresser out to the garage for me?"
 That man. He endures so much for me. :0)
So, on to plan Q. I think I'll try to strip the dresser next spring and go from there. That's not the only fail we've dealt with this month. But I think I salvaged the next one. I'll have to post about that one next.
Tuesday, July 12, 2011
Uhhhh...Pennant Duvet, part 2
So I changed my plans. Originally I was going to make this into a quilt, but I decided on a duvet instead. There are several advantages of a duvet. First, I knew it would be mostly white, therefore I knew I'd be washing it a lot. As annoying as it is to restuff a duvet, I knew it would be easier to wash and dry. #2, I don't know how to quilt. That was a big one. And #3 I realized I had just donated any blanket that I could put in the middle of the quilt. And I'm trying to use things I have on hand. So anyway, as of the last post, I had pinned on the pennants. Next I sewed them on, first straight across, and then the rest of the little triangle. Last. Favorite. Part. I did it in probably 3 hour-long sessions. I decided to just straight stitch and let 'em fray, 'cause I thought it'd be cute and the zig-zag stitch and I are not BFFs.
Once I had the front stitched, I picked out a vintage sheet for the back that I had on hand and pinned the top to the bottom. I hope you're not looking for a tutorial, because I made this up as I went along! I picked up some giant red rickrack at Joanne's for a trim between the sheets. I pinned it the best I could, but as I sewed, the sheets moved along and my sides did not match anymore--groan! So, I would re-pin the other sides and hope for the best. Which brings me to another reason a duvet cover was a better choice for me: they can be rumplier and not perfect and it's OK. Whew!
Once I had them all toghether, I sewed some ribbon on the inside corners of the duvet and the corners of the down comforter I bought at Ikea. That way I can tie the comforter to the duvet and it won't shift around annoyingly. When I say this thing is not perfect, it isn't false modesty! Here you can see that on one corner the top sheet is about an inch longer than the bottom sheet. But when it's all tied up you can't tell. :0)

Aaaaand here is a hole I accidentally snipped in the bottom sheet about 2 seconds after I finished the thing. Thankfully it's right at the bottom and when I stitch it up you won't be able to tell. Oy.

Instead of risking more uneven seams, I just made ties for the bottom out of the extra fabric from the top sheet. It'll be easy to get the comforter in and out this way, too.
 This is the bottom of the duvet. I used a vintage sheet instead of the fabric I originally intended to use. It was easy to use because it was already finished. Plus, I figure if the top side gets smudged, the bottom side is pretty enough to become the top side until I can wash it.

And here it is! I'm so glad I splurged on the rick rack. I think it really makes it. Can't wait to show you what it looks like on the Big Girl bed! Life has been busy, but we're making good progress on the room, and my grand to-do-before-the-baby-comes list. :0)
 Cost breakdown:
Once I had the front stitched, I picked out a vintage sheet for the back that I had on hand and pinned the top to the bottom. I hope you're not looking for a tutorial, because I made this up as I went along! I picked up some giant red rickrack at Joanne's for a trim between the sheets. I pinned it the best I could, but as I sewed, the sheets moved along and my sides did not match anymore--groan! So, I would re-pin the other sides and hope for the best. Which brings me to another reason a duvet cover was a better choice for me: they can be rumplier and not perfect and it's OK. Whew!
Once I had them all toghether, I sewed some ribbon on the inside corners of the duvet and the corners of the down comforter I bought at Ikea. That way I can tie the comforter to the duvet and it won't shift around annoyingly.
 When I say this thing is not perfect, it isn't false modesty! Here you can see that on one corner the top sheet is about an inch longer than the bottom sheet. But when it's all tied up you can't tell. :0)
Aaaaand here is a hole I accidentally snipped in the bottom sheet about 2 seconds after I finished the thing. Thankfully it's right at the bottom and when I stitch it up you won't be able to tell. Oy.

Instead of risking more uneven seams, I just made ties for the bottom out of the extra fabric from the top sheet. It'll be easy to get the comforter in and out this way, too.
 This is the bottom of the duvet. I used a vintage sheet instead of the fabric I originally intended to use. It was easy to use because it was already finished. Plus, I figure if the top side gets smudged, the bottom side is pretty enough to become the top side until I can wash it.
And here it is! I'm so glad I splurged on the rick rack. I think it really makes it. Can't wait to show you what it looks like on the Big Girl bed! Life has been busy, but we're making good progress on the room, and my grand to-do-before-the-baby-comes list. :0)
 Cost breakdown:
Top sheet: $2.50 on consignment (bonus, it's already been washed a bunch and is super soft)
Bottom sheet: free, already had it
Pennant fabric: about $7 for two fat quarters (only used about half of them, though)
Rick rack: $11 with a 40% off coupon at Joann's.
Down comforter: $14 at Ikea
Total: $34.50.
Monday, June 27, 2011
Pennant Quilt
I have been thinking for awhile about making Ava a quilt for her new bedroom. I've seen a lot of really cute stuff online, and think I've found a way to make it easy enough for even me to do!
A few weeks ago, the fam was in Ashland, WI where there is a really cute shop that carries aDORable fabric. I got this for 1/2 price. $4.50/yd! I think it's Moda? I'm not sure how I'm going to use this fabric. Maybe as the back of the quilt and it can be reversible??? Each panel is so sweet:

I'm unashamedly copying this quilt from A Pretty Cool Life. I kinda figured I'd make pennants using all the fabrics in my stash.
 But then I realized that part of the cuteness of the quilt inspiration is how she picks the colors and puts them together. So I decided to do some experimenting.
I was kinda liking this, but not getting very far with it:

I originally thought I wanted more primary colors, but it wasn't doing it for me:

Another try:

Then I remembered the fat quarters I had also gotten from the store in Ashland (I think it's called the Painted Cottage?)

I also got some giant yellow rick-rack that I kept nearby for inspiration. It may or may not be used on the bed, but I liked the general feel of it

Once I pulled out those fabrics, I found I didn't need to be limited to 4 or 5 fabrics, but that I could add more. I found that using one pattern to pull colors out of made it alot easier to put them together. I got the darker blues out of there and it started to come together. I also found that a mix of large and small patterns made a big difference.

For the main part of the quilt, I found an off-white king sized flat sheet at a local consignment store. It was 70% off at $2.50. I just cut off the embellishment. Then I cut the sheet to 68x88 (ish.)

To make the pennants, I made a template from a piece of paper. It's totally not perfect. And the cutting wheel sliced off pieces of the template as I went along, so I know some of my pennants are smaller than others. But I don't mind. I think it'll only add to the final product.
A few weeks ago, the fam was in Ashland, WI where there is a really cute shop that carries aDORable fabric. I got this for 1/2 price. $4.50/yd! I think it's Moda? I'm not sure how I'm going to use this fabric. Maybe as the back of the quilt and it can be reversible???
 Each panel is so sweet:
I'm unashamedly copying this quilt from A Pretty Cool Life. I kinda figured I'd make pennants using all the fabrics in my stash.
 But then I realized that part of the cuteness of the quilt inspiration is how she picks the colors and puts them together. So I decided to do some experimenting.
I was kinda liking this, but not getting very far with it:

I originally thought I wanted more primary colors, but it wasn't doing it for me:

Another try:

Then I remembered the fat quarters I had also gotten from the store in Ashland (I think it's called the Painted Cottage?)

I also got some giant yellow rick-rack that I kept nearby for inspiration. It may or may not be used on the bed, but I liked the general feel of it

Once I pulled out those fabrics, I found I didn't need to be limited to 4 or 5 fabrics, but that I could add more. I found that using one pattern to pull colors out of made it alot easier to put them together. I got the darker blues out of there and it started to come together. I also found that a mix of large and small patterns made a big difference.

For the main part of the quilt, I found an off-white king sized flat sheet at a local consignment store. It was 70% off at $2.50. I just cut off the embellishment. Then I cut the sheet to 68x88 (ish.)

To make the pennants, I made a template from a piece of paper. It's totally not perfect. And the cutting wheel sliced off pieces of the template as I went along, so I know some of my pennants are smaller than others. But I don't mind. I think it'll only add to the final product.
I eyeballed what I wanted it to look like, and laid out the pennants. I found that different orders of the fabrics made a difference to me too, so I just played with it until I liked it. Then I pinned it. That's as far as I've gotten. Here's how it looks now!

 I'm pleased at how it's turning out so far! I won't be able to get back to it for at least a week, but I'm excited about how it's coming together. :0)

 I'm pleased at how it's turning out so far! I won't be able to get back to it for at least a week, but I'm excited about how it's coming together. :0)
Tuesday, June 21, 2011
The Great List and a Great Weekend
We just had a big weekend at our house. First off, Grandma and Grandpa arrived on Friday! They were gracious enough to offer to watch Ava so Mr. Wonderful and I could have a little getaway. We went up to a town called Minocqua--a pretty little town situated in the lakes of central WI with all of the trappings a tourist could want! We spent a day going out to eat, antiquing, lazing on the beach and playing putt-putt. Despite the fact that I got a hole in one and 3 birdies, Mr. Wonderful still beat me by 5 strokes. You might say he's a little more consistent than me. :0) It was an awesome day!
My parents are also uber productive, so they helped me get started on my list of things to do before the baby comes! Ava helped too:
 She's good with a hammer :0). Here's the Great List:

Sooooo stinking cute. Especially since we call her Ava Bird. If one of you could tell Ava that this two week phase of not napping isn't cool that'd be great. If she went from 2-3 hour naps every day to no nap at all in the snap of a finger, I'd be sad. And please don't insert stories of how so-and-so's baby dropped their nap at 18 months, m'kay? Last week, I figured she was overtired because of VBS, last weekend I figured it was Grandma and Grandpa excitement, but now I don't have a reason!
My parents are also uber productive, so they helped me get started on my list of things to do before the baby comes! Ava helped too:

 She's good with a hammer :0). Here's the Great List:
1. Paint and modify wardrobe
2. Move wardrobe into the living room to be the entertainment center
3. Move current "entertainment center" (shelving) to Ava's new closet (and paint it) for storage
4. Make play kitchen for Ava (in process)
5. Modify built-ins in Ava's new room to be bookshelves (in process)
6. Move stripe-y chair from basement into nursery for late night feeding
7. Pare down Mr. Wonderful's wardrobe (in process)
8. Pare down my wardrobe (check!)
9. Combine our clothes into one closet (in process)
10. Move guest room bed into basement
11. Move twin mattresses into Ava's new room
12. Move an end table into nursery next to stripe-y chair
13. Make bedding for Ava's room
14. Make curtains for Ava's room
15. Make a bunting for Ava's room
16. Move a dresser into baby's closet
17. Move guest dresser (and paint it) into nursery to be new changing table
18. Put a shelf above the changing table
19. Find a different way to deal with diapers (Diaper Champ, etc.)
20. Put up a second rod in Ava's new closet.
21. Find a way to store Ava's toys in her new room.
22. Paint the beige "accent" wall in Ava's new room Cottage White
23. Paint the wall behind the built-in bookshelf something fun.
Yeah, I know a TON of stuff. But I'm excited for the way everything is going to come together. I think Ava's new room is gonna be super CUTE. Speaking of cute, here is what I picked up in Minocqua for Ava's new room:

Sooooo stinking cute. Especially since we call her Ava Bird. If one of you could tell Ava that this two week phase of not napping isn't cool that'd be great. If she went from 2-3 hour naps every day to no nap at all in the snap of a finger, I'd be sad. And please don't insert stories of how so-and-so's baby dropped their nap at 18 months, m'kay? Last week, I figured she was overtired because of VBS, last weekend I figured it was Grandma and Grandpa excitement, but now I don't have a reason!
Subscribe to:
Posts (Atom)